Whether you’re a diehard hockey fan or just looking for a unique and fun costume, creating your own Stanley Cup costume is a great way to show your love for the sport. With a few basic supplies, you can easily put together a DIY costume that will make you stand out from the crowd. Here’s everything you need to know to create your own Stanley Cup costume.
Decide what you want your Stanley Cup costume to look like.
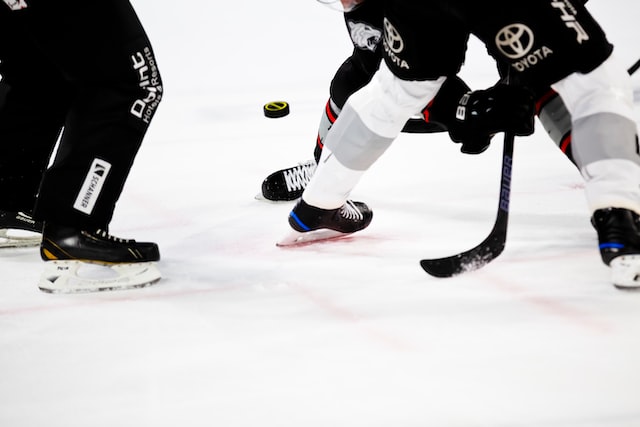
For this Halloween, you might want to stand out from the crowd with an unforgettable costume. If you are a big ice hockey fan, there is no better way to do this than with a Stanley Cup costume. Choose whether you want to be a professional hockey player who just hoisted the Cup or if it should be the physical trophy itself! To accurately represent either one, pick out some traditional ice hockey equipment – long pants and a team jersey for the player and silver material for the trophy. Add some minor details like facemask or bronze bands around the trophy for a unique touch. With so many options, your Stanley Cup costume can be anything from spooky to stylish and everything in between. You’re sure to make quite an impression as you step through your neighborhood on Halloween night!
Find a white t-shirt and some black felt.
Crafting with a white t-shirt and black felt is a great way to express your creativity. You can use these materials to create clothing, wall hangings, or even home decorations. With the softness of the t-shirt material and the malleability of the felt, the combinations you can create are endless. Whether you choose to go for patchwork designs with contrasting colors or keep it simple with cutout shapes in abstract patterns, you can let your imagination run wild and craft something unique that no one else has!
Cut out a circle from the black felt, and sew it onto the front of the shirt.
Adding a unique element to plain clothing has never been easier with the use of felt. By cutting out a circle from black felt, you can quickly create a custom shirt that stands out in any crowd. Sewing the felt requires minimal effort and skills; just set your machine’s stitch length to the widest setting and it will be sewn on fast and securely. Making this small alteration to your wardrobe will be sure to elevate your style game!
Cut out two smaller circles from the black felt, and sew them onto the sleeves of the shirt.
Adding small black circles to the sleeves of the shirt can really give an outfit the perfect finishing touch. The circles have the ability to draw attention and stand out, while also adding a subtle yet eye-catching flair. For best results, cut two smaller circles from black felt and sew them onto the sleeves. With this added accessory, any look can go from basic to creative in no time!
You can also add a Stanley Cup logo to the front of the shirt if you want to be extra authentic!
If you’re a die-hard hockey fan, why not take your fandom to the next level and customize your own Stanley Cup shirt? With just a few items and some simple steps, you can craft an official-looking jersey in no time that’s sure to draw admiration from fellow fans. And if you really want to put your own unique stamp on it, adding the iconic Stanley Cup logo to the front is a surefire way to turn heads. All you need is a little creativity and determination, plus a sprinkle of team spirit, to dress yourself up like a pro!
By following these simple steps, you’ll be well on your way to having the best Stanley Cup costume at the party! Just make sure to wear it with pride and show off your love for hockey!